Should You Paint Your Home in the Winter?

Revive Painting • November 6, 2024

Most people associate home painting with the warmth of spring or summer, but winter may actually be one of the best seasons to pick up a brush. While the cold months are often reserved for holiday decor and cozy nights, they can also be the perfect time to refresh your living space. Whether you’re thinking about a bold new color for your walls or giving your exterior a quick touch-up, winter painting has plenty of advantages that are often overlooked. Let’s dive into the surprising benefits and tips for painting your home during the colder months.


Why Winter is Ideal for Interior Painting Projects


When the holidays wind down, many homeowners find themselves with extra time to tackle indoor projects. Winter offers fewer distractions from outdoor activities, making it a great time to focus on interior painting. You’re already spending more time indoors, so why not make your space feel fresh and inviting?


Colder months also mean lower humidity levels inside your home. This can help paint dry more evenly and reduce the risk of bubbling or uneven textures. Without the sticky summer air, your interior painting project can achieve a smooth and professional-looking finish more easily.


Embracing Crisp Winter Light for Color Inspiration


Winter light has a unique clarity that’s hard to find during other seasons. The softer, cooler light streaming through your windows can give you a more accurate sense of how colors will look on your walls throughout the day. This makes winter an excellent time to experiment with new shades or make final decisions about which color suits your space best.


Since winter light tends to highlight subtle variations in tone, it’s also a great opportunity to test out richer or darker hues. Deep greens, warm reds, and cozy neutrals can all come to life under the season's crisp lighting, helping you create a mood that feels perfect for the colder months.


How Home Painting Keeps Your Space Cozy and Fresh


A new coat of paint can transform your living space, making it feel cozier and more inviting just when you need it most. Warm tones like soft yellows or muted oranges can bring energy to a room, while neutral palettes create a calming vibe that’s perfect for quiet winter nights. Painting your home is one of the simplest ways to refresh your surroundings and shake off any feelings of cabin fever.

Beyond aesthetics, fresh paint can also improve air quality. Many modern paints are low in volatile organic compounds (VOCs), meaning they’re better for your health and the environment. With your windows closed to keep out the chill, a newly painted room can still feel clean and revitalized.


Scheduling with a Home Painter During the Off-Season


One of the biggest advantages of painting in the winter is the availability of professional painters. With fewer people hiring during the colder months, you’re more likely to secure a time that works for your schedule. Off-season rates can also be more budget-friendly, making it a win-win for homeowners looking to save.


Additionally, professional painters can often dedicate more time and attention to your project during their slower season. This means you’re more likely to get top-notch service and a quicker turnaround on your painting needs.


Winter Tips for Quick-Drying Interior Paint


While it’s true that colder temperatures can slow down paint drying times, there are easy ways to speed up the process indoors. Keeping your home at a consistent temperature, ideally between 65-75°F, helps the paint cure properly. Using fans to circulate air and opening windows slightly for ventilation can also make a big difference.


If you’re painting smaller spaces, consider using quick-drying paints that are formulated for cooler conditions. These products dry faster and maintain a durable finish, even in less-than-ideal temperatures. With a little preparation, you can ensure your winter project goes off without a hitch.


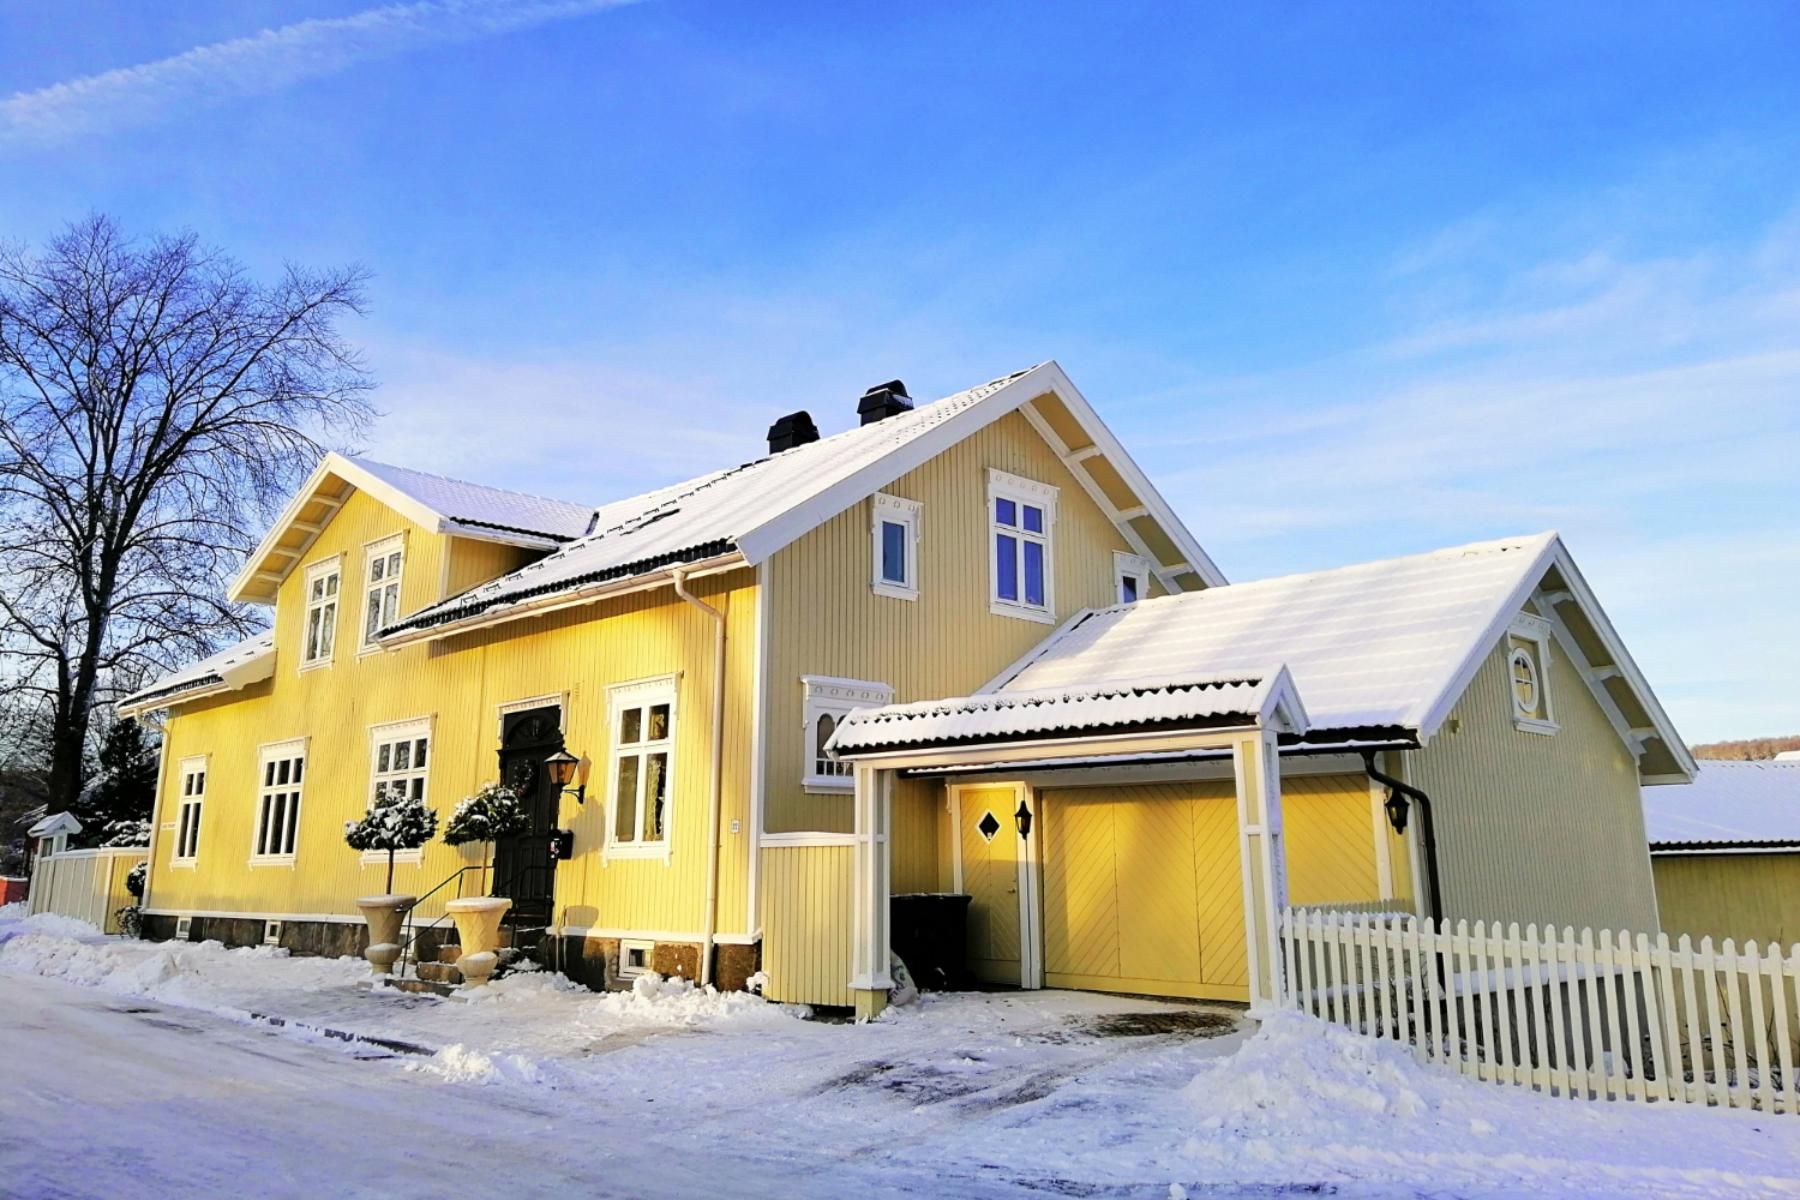
Preparing Your Home for Winter Exterior Painting Touch-Ups


While full exterior painting projects are best left for milder weather, winter is a good time to address small touch-ups or repairs. Cracks, chips, or peeling paint can worsen during cold and wet conditions, so it’s smart to take care of these issues before they escalate.

Start by cleaning the area thoroughly to remove dirt and grime, ensuring the paint adheres properly. Look for a dry day with temperatures above 35°F, and use weather-resistant paints designed for colder climates. These minor updates can help protect your home’s exterior from further damage throughout the winter months.


Choosing Paint Colors That Warm Up Cold Months


Winter is the perfect season to rethink your home’s color palette. Opting for warm and inviting tones can help counteract the chill of the season. Shades like terracotta, deep gold, or even navy blue create a snug and stylish atmosphere that’s perfect for winter evenings.

Don’t be afraid to mix it up with accent walls or textured finishes to add depth and character to your space. A fresh coat of paint in the right shade can make even the coldest days feel a little more cheerful and cozy.


Protecting Your Home's Exterior Paint from Winter Weather


Winter weather can take a toll on your home’s exterior, but there are ways to protect your paint job from the elements. Applying a weather-resistant sealant can help your paint stand up to rain, snow, and freezing temperatures. Regularly checking for signs of wear, like peeling or cracking, can prevent small issues from turning into costly repairs.


Simple maintenance steps, such as cleaning dirt and debris off painted surfaces, can also help extend the life of your exterior paint. Keeping your home’s exterior in good shape during winter ensures it looks great year-round and saves you time and money in the long run.


Revitalize Your Space This Winter with Expert Interior and Exterior Painting by Revive Painting


Don’t let the cold months stop you from transforming your home into a cozy, refreshed haven. Winter is the perfect time to tackle those interior painting projects you’ve been putting off or to give your exterior a little TLC before spring. At Revive Painting, our skilled home painters are ready to help you achieve stunning results, whether it’s a bold new color for your living room or a protective touch-up for your home’s exterior. Make your space feel inviting, warm, and beautiful this season. Contact us today to schedule your project and bring your vision to life.


house needed exterior painting
By Revive Painting May 28, 2025
Your house's paint job needs regular updates. Most homeowners start asking this question when their exterior loses its vibrant look. Paint experts suggest a new coat every 5-10 years. This timeline changes by a lot based on your local climate. Saskatoon's weather can be really tough on exterior surfaces. Quality paint jobs last longer than cheap ones. The paint's lifespan depends on several vital factors we discuss with our clients. Proper application techniques help colors fade evenly. Light shades hold up better than darker ones. Location makes a big difference too. Houses near the coast need fresh paint every 2-3 years because of salt exposure. Homes in milder climates can go a decade between paint jobs. Saskatoon's extreme temperatures and harsh winters create unique challenges that affect how long paint lasts. Delaying a new paint job leads to more than just looks. Watch for warning signs like fading, bubbling, peeling, chalking, and cracked caulking. These signs tell you your house needs attention fast. They often show up before moisture damage and rot set in. A fresh coat of exterior painting could prevent these issues. This piece explains these warning signs and shows why quick action matters. You'll protect both your home's appearance and structure from damage that can get pricey to fix later. Fading and dull paint color Your home's exterior paint shows its first signs of deterioration through color fading. The loss of vibrancy might look like a simple cosmetic issue. This change actually shows your paint's protective abilities starting to fail. A good understanding of fading helps you decide if it's time to repaint. Why fading happens over time Paint fades because pigments naturally break down as time passes. Several factors speed up this process beyond regular wear and tear. Low-quality paint starts peeling and chalking off as its top layers break down. Quality products fade evenly on homes, while cheaper paints create uneven, blotchy fading patterns. Paint color plays a vital role in fading speed. Blues, yellows, and reds don't hold up well against UV radiation . Deep blues and reds soak up more light and heat, which makes them fade faster than lighter colors. Paint also loses color faster when it's over-tinted or when someone uses indoor paint outside. Today's exterior paints work better than what we had ten years ago. The original paints stayed flexible for just 7-10 years and lost 7% of their color yearly. Modern formulas now include UV protection that keeps annual fading down to 1-3%. How UV rays affect paint in Saskatoon Saskatoon's weather creates special challenges for exterior paint durability . UV light damages paint two ways. UV-A rays make paint resin dry out and crack. UV-B rays attack the color directly and cause fading and discoloration. South-facing walls take a beating during our intense summers. These walls get almost no protection throughout the year. Long sun exposure starts photodegradation - a chemical reaction that breaks down paint colors and removes their shine. Some paints handle these conditions better. Acrylics and polyurethane paints resist UV damage because they absorb sunlight more slowly. Earth-toned paints (beiges, tans, browns) also fight UV damage better than other colors. When fading becomes a problem Paint fades so slowly you might not notice at first. You should act quickly once you spot color changes. Most exterior surfaces show substantial fading one to seven years after painting. Faded and chalky paint needs a good pressure wash and fresh coat to look right again. Faded paint means more than just looks - it shows your home's shield isn't working right anymore. Water can get in and cause bigger structural problems if you ignore it. Noticeable or uneven fading tells you it's time to think about repainting to protect your home and keep it looking good. Peeling, bubbling, and cracking paint Paint that peels, bubbles, and cracks shows serious deterioration that just needs immediate attention. These problems show your home's protective barrier has been compromised by a lot. This creates paths for damage to spread beneath the surface, unlike simple fading. What causes paint to peel or bubble Paint fails because of several factors that work alone or together. Moisture infiltration stands out as the main reason paint bubbles and peels. Water gets trapped between paint and substrate when it seeps through cracks, gaps, or badly sealed surfaces. The trapped moisture then forces the paint to separate from the surface below. Poor surface preparation ranks as another top cause. Paint won't stick right if surfaces aren't cleaned, sanded, or primed properly. Even the best paint will fail on dirty, wet, or badly prepped surfaces. The paint peels between layers when you put oil-based paint over latex without proper prep work. Environmental factors also make paint fail by a lot. Surfaces expand and contract from extreme heat and long sun exposure. Saskatoon's weather makes this worse because the shifts from winter to summer stress the paint and make it crack and peel. How moisture and poor prep lead to damage The damage starts without anyone seeing it. Paint looks fine at first with poor prep but loses its grip over time. The paint separates from the surface and forms bubbles when contaminants or glossy areas prevent good bonding. Moisture causes damage in two ways. Rain or snow gets in through tiny cracks or bad caulking from outside. Inside moisture from bathrooms, kitchens, or leaking pipes pushes out through walls and can be just as bad. Both trap water under the paint, which creates pressure that lifts it off the surface. Why this exposes your home to further issues Your home becomes open to faster damage once paint starts peeling or bubbling. Moisture gets deeper into building materials through the broken paint barrier. Wood starts to rot, mold grows, and the structure might get weak from all this moisture. Saskatoon's harsh weather beats up on exposed wood faster. The wood dries out, cracks, and gets warped. These gaps let more moisture in, which starts a cycle that speeds up over time. House painting becomes less about looks and more about stopping repairs that can get pricey. Chalking, staining, and mildew buildup Your home's exterior paint shows subtle signs of wear beyond visible fading and peeling. Our team of experienced Saskatoon painters sees these problems regularly during property assessments. What is chalking and how to spot it A fine, powdery residue forms on painted surfaces as time passes - we call this chalking. Paint naturally weathers this way when UV exposure breaks down the paint's binder, which releases pigment particles and creates a dusty layer. You can spot chalking by running your hand across the surface. The presence of powdery substance on your fingers confirms chalking. Normal paint weathering includes some chalking, but excessive amounts point to serious deterioration. Saskatoon's harsh climate makes chalking happen faster. UV exposure breaks down paint components, and north-facing surfaces tend to chalk more quickly. Using cheap, heavily pigmented paints or outdoor application of interior paint leads to early chalking. Paint that's too thin during application or poorly prepared surfaces create perfect conditions for chalk to develop. Signs of mildew and moisture stains Black, gray, or brown discoloration shows up on painted surfaces as mildew grows in damp, shaded spots. You can tell mildew from dirt with a simple test - add a few drops of household bleach to the affected area. Mildew lightens or disappears within minutes, while dirt stays the same. Cheap paints without mildew-resistant formulations , damp areas, missing primer, or incomplete mildew removal before painting cause these problems. Areas with poor airflow or trapped moisture face higher risks, especially in Saskatoon's climate. How these affect paint performance These issues reduce your exterior paint's ability to protect your home. The paint film wears away as chalking continues, which leads to fading colors and less protection. Severe chalking makes it harder for new paint to stick, which complicates future paint jobs. Mildew grows through paint layers and damages structural integrity while creating ugly discoloration. Both problems let moisture seep in, which can rot wood and cause structural damage. The repair costs end up way beyond what timely repainting would have cost. Most Saskatoon homes need repainting every 5-7 years. These warning signs might mean you need to repaint sooner than that typical timeline. Cracked caulking and surface damage Your home's exterior needs attention when you notice deteriorating caulk around windows and doors. This small issue can quickly grow into bigger problems that hurt your home's looks and structure. Why caulking fails over time Natural aging and environmental stress cause caulk to deteriorate. Quality exterior caulk expands in summer heat and contracts during Saskatoon's frigid winters. Each seasonal cycle wears it down. UV radiation from the sun damages caulk the most by breaking down the chemical compounds that keep it flexible. High-quality silicone sealants last about 10 years before you need to replace them. Caulk shows several signs of aging. It gets dry and brittle, forms cracks or crazing patterns, and pulls away from sealed surfaces. Bad application makes these problems worse, especially when you have poor surface prep, thin beads, or the wrong products. Quick temperature changes can make the surface wrinkle or crack during the curing cycle. How to inspect windows and doors You need a step-by-step approach to check your home's caulking. The south-facing sides of your home show damage first because they get the most sun. Check the upper and lower corners of windows and doors where problems usually start. Look for cracks, peeling, discoloration, or spots where caulk has pulled away from surfaces. Testing by touch helps you learn more. Press any suspicious spots to check if the caulk feels flexible. Then look at nearby materials for water damage signs like peeling paint, stains, or rotting wood. When repairs and repainting are needed Fix cracked or separated caulking right away because these gaps let moisture get behind your home's protective exterior. Small caulking failures create paths for water that can reach your framing or subfloors and cause major structural damage. Cracks around windows let rain or melting snow travel inside walls, which creates perfect conditions for wood rot and mold. The right timing makes a difference for caulk replacement. Check yearly but do the actual work in mild weather—spring, summer, or fall work best, never winter. New homes need resealing after the first year because settling creates gaps at the joints. Protect Your Home Homeowners can save thousands in structural repairs by spotting warning signs of failing exterior paint early. This piece highlights how fading colors, peeling paint, bubbling surfaces, chalking, and cracked caulking are more than just looks - they're vital indicators that your home's protective barrier isn't working. These signs just need quick attention, especially in Saskatoon where extreme temperatures speed up paint wear. Most people wait too long until they see obvious damage. By then, moisture has started its destructive work under the surface. The right materials and professional application make the biggest difference in your house exterior's paint life. Premium paints with UV protection can cut yearly fading from 7% to just 1-3%. This is a big deal as it means that your paint job lasts much longer. Good surface prep stops common problems like bubbling and peeling that happen when paint can't stick properly. Your home is one of your biggest investments, and protecting it with regular maintenance painting every 5-7 years is nowhere near as expensive as fixing rot, mold, and structural damage from water. Smart homeowners don't wait for obvious problems to tackle exterior painting - they act on subtle signs first. People who catch early warning signs keep their property looking great and structurally sound for years. Professional inspections can catch these issues before they turn into expensive fixes. If you notice any signs we've discussed, reach out to Revive Paintings and Wallcovering to get a full picture and expert solutions that work for Saskatoon's unique climate. A timely, quality exterior paint job does more than make your home look fresh - it shields your property from our harshest weather, protects its value, and helps it last for decades. FAQs Q1. How often should I repaint the exterior of my house? Most experts recommend repainting your home's exterior every 5-10 years. However, this timeline can vary depending on your local climate and the quality of the previous paint job. In harsh climates like Saskatoon, you may need to repaint more frequently, typically every 5-7 years. Q2. What are the early signs that my house needs repainting? Early signs include fading or dull paint color, peeling or bubbling paint, chalking (a powdery residue on the surface), and cracked caulking around windows and doors. If you notice any of these signs, it's time to consider repainting to prevent further damage. Q3. Is it better to spray or roll exterior paint? Both methods have their advantages. Spraying is faster and provides a more even finish on smooth surfaces, while rolling allows for a thicker coat and better coverage on textured surfaces. The choice depends on your home's exterior material, the size of the area, and your skill level. Q4. How should I prepare my house's exterior before painting? Proper preparation is crucial for a lasting paint job. Start by pressure-washing the exterior to remove dirt and grime. Repair any damaged surfaces, remove loose paint, and caulk around windows and doors. Prime any stained areas and protect fixtures before beginning to paint.  Q5. Can I paint over mildew, or do I need to remove it first? Always remove mildew before painting. Painting over mildew will not solve the problem and can lead to paint failure. Clean the affected areas with a mixture of bleach and water, or use a commercial mildew remover. Once the surface is clean and dry, you can proceed with painting.
By Revive Painting May 17, 2025
Painting might seem simple—brush, roll, done. But anyone who's tackled a room makeover knows the number of paint coats isn’t just a guess. It's a calculated decision influenced by everything from the wall's texture to the paint’s formula. Knowing what affects coat count can save time, money, and plenty of frustration down the line. Paint Coverage Factors That Determine Coat Quantity Several variables quietly affect how many coats of paint a project will need. The type of paint used—whether it's oil-based, latex, or acrylic—can make a significant difference in how well it spreads and how much it covers. High-quality paints tend to have better pigments and binders, allowing for fuller coverage in fewer coats. Budget paint might cost less upfront but often requires more layers to get the same look. The color you start with compared to the one you want to achieve matters too. Going from a dark red to a light gray, for example, almost always takes more paint than switching from beige to a similar tone. Light colors tend to need more coverage when painting over anything darker, and bright shades like yellows and oranges often demand extra layers because of their lower opacity. Surface Porosity and Its Effect on Paint Layers Porous surfaces like bare drywall, brick, or raw wood tend to absorb paint rapidly. That absorption weakens the color’s saturation, forcing the painter to apply additional coats just to get even, rich coverage. If the first coat sinks deep into the material, the second—or even third—may be necessary to form a visible surface layer. On smoother, sealed surfaces, paint behaves differently. It sits on top, distributing more evenly, which often results in better coverage with fewer coats. Understanding how absorbent your walls or surfaces are can guide you to apply the right number of coats the first time without surprises halfway through the job. Understanding Color Intensity and Coverage Requirements Colors with high intensity—like bold reds, deep blues, or vibrant greens—carry pigment loads that don’t always spread evenly in one coat. These tones tend to look streaky at first because the pigment saturation requires time and layering to build up. Trying to shortcut the process with one heavy coat usually results in uneven spots and long drying times. Lighter shades may seem easier, but they bring their own challenges. Whites, pastels, and other soft hues don’t always mask darker base colors easily. Even over primer, these lighter tones may need a second or third coat to get that crisp, uniform appearance that looks good from all angles. Primer Influence on Final Coat Numbers Primer plays an underappreciated role in the painting process. It creates a consistent surface that helps paint stick better, dries faster, and spreads more evenly. Applying a primer coat often reduces the number of paint coats needed, especially when switching between drastically different colors. Skipping primer can be tempting, but it usually leads to more work later. Without primer, the topcoat may not bond well, leading to blotches or streaks. A simple layer of primer may eliminate the need for a third coat, saving time and money in the long run. It's especially useful on new drywall, stained surfaces, or glossy walls that resist paint adhesion. Impact of Finish Types on Coating Thickness Paint finish—whether it's matte, eggshell, satin, semi-gloss, or high-gloss—affects how thick each coat feels and how many you’ll need. Flat or matte paints often require more coats because they lack reflective quality and absorb more into the surface. These finishes also show scuffs more easily, sometimes prompting a second coat just to even out touch-ups. In contrast, glossy finishes tend to go on thicker and reflect light, which helps mask imperfections. However, their shine can emphasize roller marks or thin areas, requiring a careful hand and often an extra coat to look smooth. Knowing how the finish behaves helps determine coat count before opening the can. Role of Surface Condition in Coat Application The condition of the surface being painted can silently increase the number of coats needed. Walls with peeling paint, cracks, or uneven textures absorb paint unevenly, creating inconsistent patches. Even small imperfections become noticeable after the first coat dries, making a second or third pass necessary for a clean finish. Prepping the wall by sanding, patching, or washing it down can make a huge difference. A clean, smooth wall holds paint more effectively, reducing waste and the need for extra layers. Time spent on preparation often pays off in fewer coats and better results. When to Consider Additional Paint Layers for Durability In high-traffic areas like hallways, kitchens, or children's rooms, more paint coats mean better durability. Even if a wall looks good after one coat, adding another can protect it against daily wear and tear. More layers create a thicker barrier that resists moisture, scuffs, and stains longer than a single application. Exterior surfaces, too, benefit from extra layers. Wind, rain, and sun can wear down paint faster outdoors, and more coats offer extended protection. Taking time to apply additional coats in these zones ensures the paint job lasts, reducing the need for touch-ups or re-dos. Cost vs. Quality—Balancing Coats for Lasting Results Using cheaper paint often leads to more coats. Lower-quality formulas have less pigment and weaker binders, which affects how well they cover and how long they last. It may seem cost-effective initially, but by the third or fourth coat, the savings vanish. Investing in a high-quality product up front often means fewer coats and less labor overall. Balancing cost and quality also involves thinking about the long-term. A quality paint job done with the right number of coats lasts years longer than a rushed one. Fewer repaints down the road means lower overall maintenance costs and better-looking walls for longer. Give Your Walls the Professional Touch with Revive Painting—Reliable, Beautiful, and Built to Last Choosing how many coats of paint to apply shouldn’t feel like a guessing game. Every wall, room, and project has its own story—and the team at Revive Painting knows how to read it. Whether it’s matching bold new colors or refreshing tired surfaces, our experienced painters understand the subtle details that make a job last. We prepare surfaces the right way, choose premium paints, and apply every coat with purpose. Revive Painting doesn’t just deliver pretty walls—we deliver smart, durable solutions backed by years of hands-on expertise. From choosing finishes that match your space to deciding the exact number of coats needed for lasting beauty, they handle it all with professionalism and care. Contact us today to schedule your consultation and bring your space to life with confidence. Visit Revive Painting to learn more and get started.