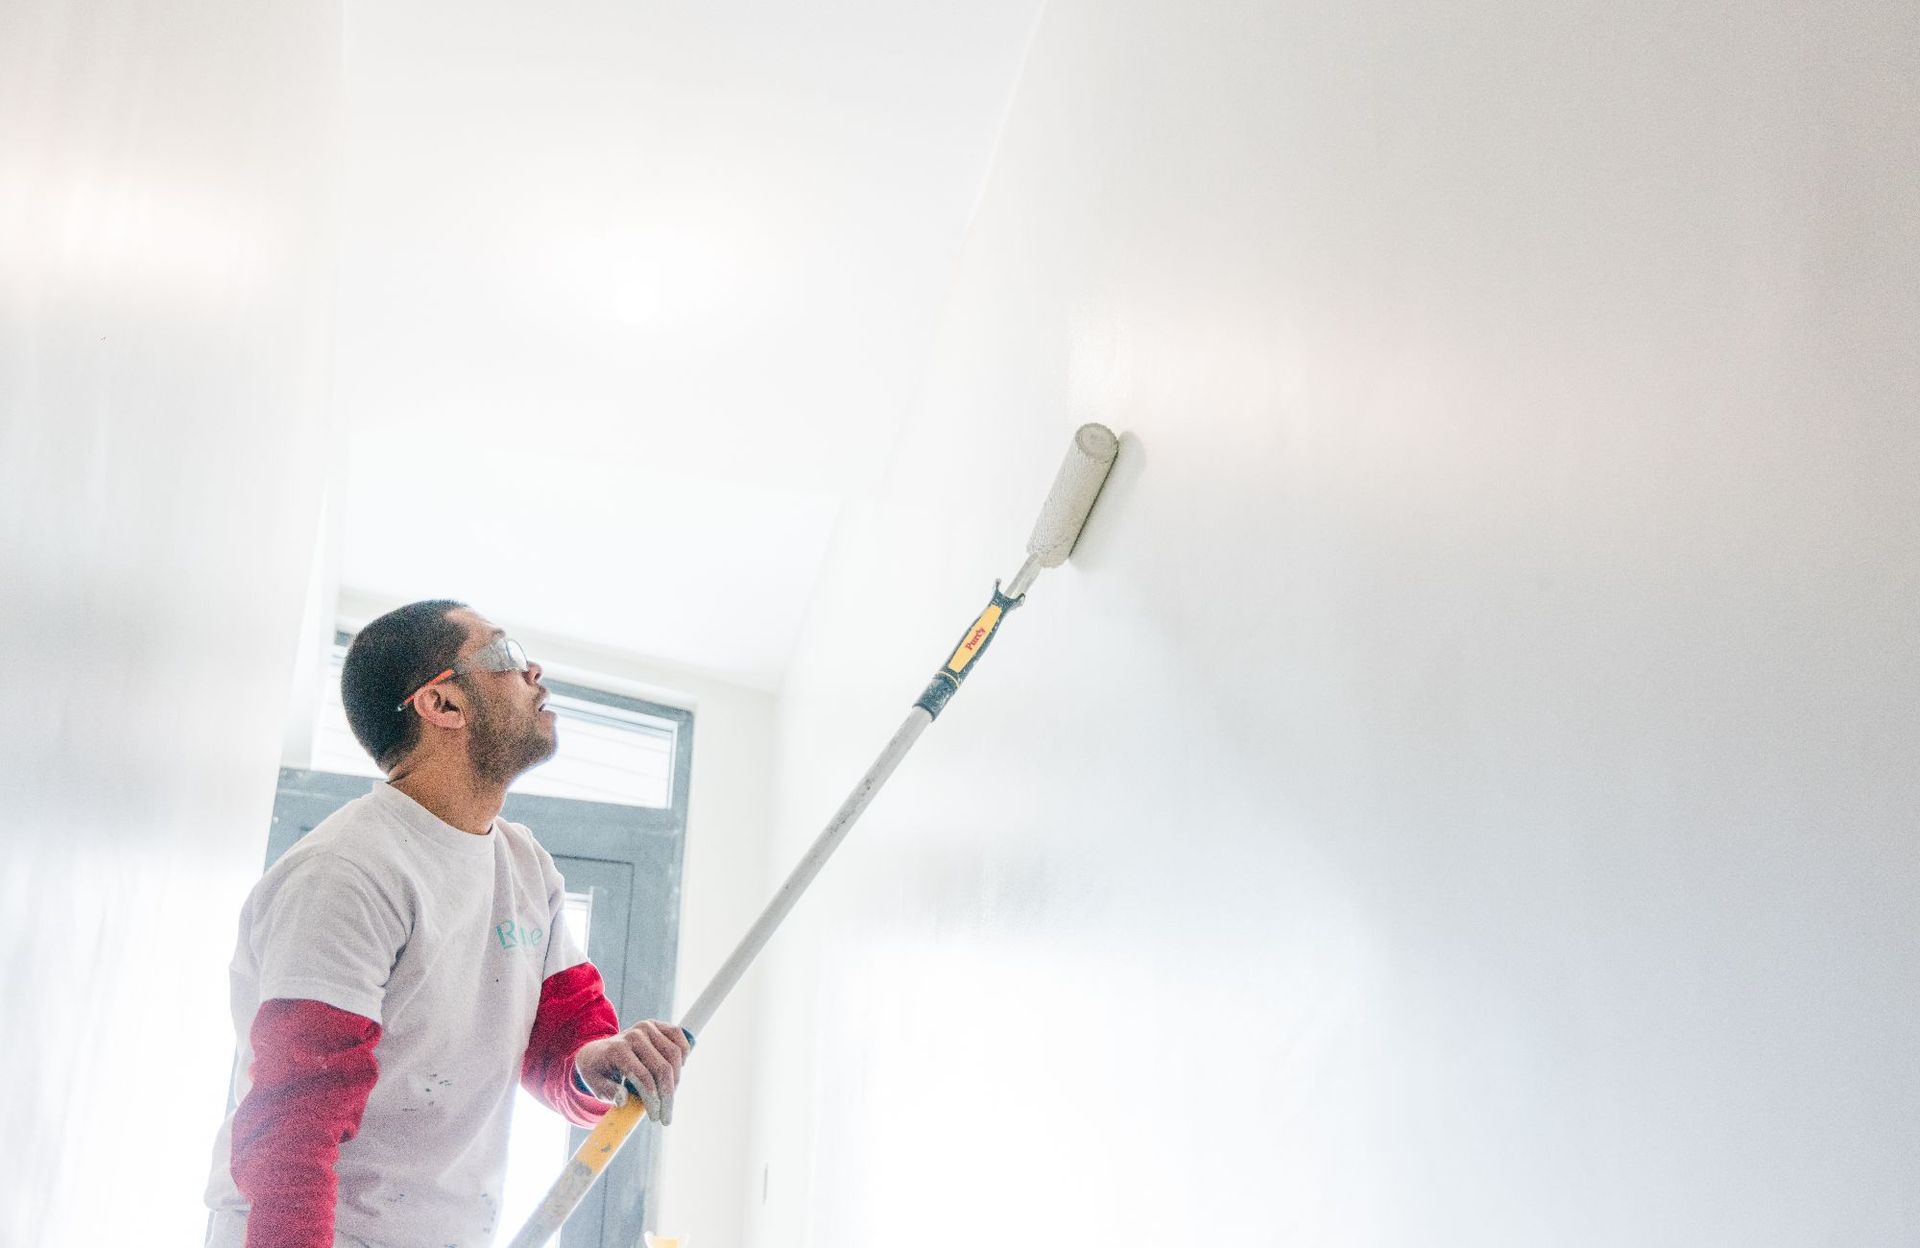
How to Fix Peeling Bathroom Ceiling Paint
You might wonder why bathroom ceiling paint keeps peeling. Our team at Revive Painting and Wallpaper sees this frustrating problem in Saskatoon homes quite often. Your bathroom creates unique challenges that other rooms don't face. The ongoing battle between moisture and ceiling paint explains why bathrooms can show signs of paint failure within months, even after a fresh coat.
How steam and condensation weaken paint
Your relaxing morning shower might be your bathroom ceiling's worst enemy. Hot water creates steam that rises and settles on the cooler ceiling surface. This isn't just a temporary fog – it starts breaking down your paint. Many homeowners don't realize this damage isn't visible right away. Steam quietly softens the paint film and makes it lose elasticity and strength over time.
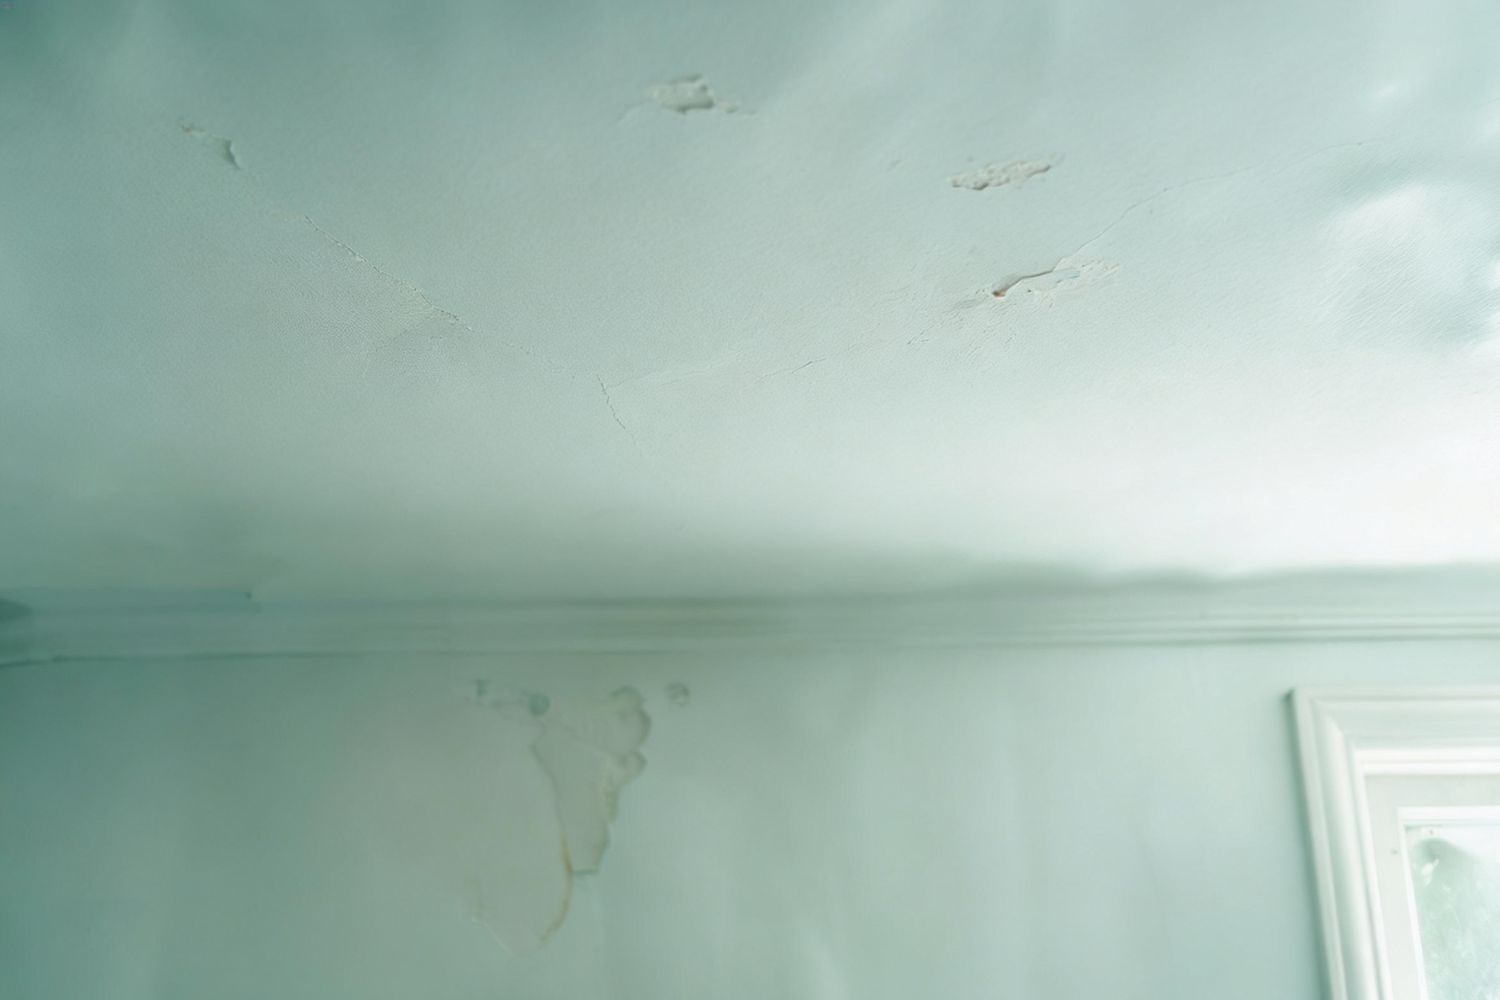
The science behind bathroom ceiling paint peeling makes sense – moisture gets between paint layers and breaks the bond between paint and ceiling. This wet-dry cycle makes paint expand and contract until it loses its grip. The situation gets worse when steam cools into tiny droplets that either evaporate or seep behind the paint layer. Since this happens every day, sometimes multiple times, damage builds up until the paint finally gives way.
Water doesn't just affect the surface – it makes paint flake, especially on bathroom ceilings. Moisture that seeps through paint coats causes layers to separate from the surface, which leads to bulging, cracking, and peeling.
The role of poor ventilation in paint failure
Our team at Revive Painting has found that many ceiling problems come from poor ventilation. People often think having an exhaust fan solves moisture problems. Reality proves this wrong. A weak fan, dusty fan, or one that runs only during showers can't remove moisture effectively.
Bad ventilation traps humidity that slowly damages visible surfaces and hidden materials. Mirrors that stay foggy long after your shower signal that humid air remains trapped instead of being pulled out. Bathrooms without windows must rely on extractor fans to clear damp air. Underpowered or inconsistent fan use lets moisture settle on walls and ceilings, which damages paintwork.
Paint lasts longer when rooms dry fully between showers, but many bathrooms can't achieve this naturally. Without good airflow, even high-quality paint will peel, grow mildew, or become discolored.
Common paint types that don't hold up in bathrooms
Using the wrong paint spells trouble in bathroom environments. Our experience at Revive Painting shows certain finishes fail no matter how well they work elsewhere in homes. Flat or matte finishes cause the biggest problems – they soak up moisture like a sponge and let mildew grow. Their porous surface lets moisture seep in, which causes swelling, mildew, and stains.
Never use regular flat white paint on bathroom ceilings. These formulas pack more pigment particles but fewer resins and binders. This gives rich colors and low shine but makes them vulnerable to moisture damage. They also can't handle cleaning well – hard scrubbing leaves shiny or silvery marks.
Regular ceiling paint doesn't last in steamy bathrooms because it lacks special properties needed for these tough conditions. Standard interior paints without moisture resistance break down quickly. Bathroom ceilings need high-performance solutions built to handle daily moisture and humidity.
How to Prepare the Ceiling Before Any Fix
A solid prep job is the foundation for fixing bathroom ceiling paint peeling. Our team at Revive Painting and Wallpaper has seen many Saskatoon homeowners try quick fixes that don't last more than a few months. Take it from us - good preparation makes the difference between a patch job and a permanent solution.
Scraping off all loose and flaking paint
The bathroom ceiling restoration starts with removing every bit of loose paint. We use paint scrapers at a 30-degree angle to lift away all the loose material. A wire brush helps tackle stubborn spots that won't budge with the scraper alone. Note that covering peeling paint never works - it's just a band-aid solution that won't stop the spread.
Years of working on Saskatoon homes have taught us to be meticulous during this stage. Safety comes first when scraping your bathroom ceiling. You'll need goggles and a dust mask to protect yourself from falling debris and paint particles. The ceiling should be checked again a day after the first scraping since more areas tend to loosen up.
Sanding the surface to smooth out edges
Sanding turns those rough, uneven edges into a smooth surface after scraping. We begin with 150-grit sandpaper for the first pass. This medium grit effectively blends the areas between scraped and unscraped parts of the ceiling. A final pass with 220-240 grit sandpaper creates that perfectly smooth finish.
Simple bathroom ceilings might only need a sanding block. Surfaces with extensive damage call for a palm sander that's light enough to use overhead without tiring your arms. The key is gentle sanding that creates an even surface for the new paint to stick.
Cleaning the ceiling with sugar soap or mild detergent
The prep work ends with a deep clean. Sugar soap works best for bathroom ceiling preparation because it removes grease, dirt, and residue effectively. We mix one part sugar soap with ten parts warm water to create the perfect cleaning solution.
Our team works in methodical sections from top to bottom while cleaning bathroom ceilings. Clean water removes any leftover sugar soap residue. Some products claim you can skip rinsing before painting, but an extra rinse creates the best surface for paint adhesion.
A proper cleaning job eliminates hidden barriers between your ceiling and new paint, like bathroom grime and sanding dust. These three steps set the stage for lasting repairs that actually work.
Steps to Fix Peeling Bathroom Ceiling Paint Permanently
Your bathroom ceiling is ready for its permanent fix! At Revive Painting and Wallpaper, we have mastered our bathroom ceiling restoration process by working on countless Saskatoon homes. Let's take a closer look at the steps that will transform your peeling ceiling into a beautiful, lasting finish.
Filling cracks and holes with patching compound
The first step to fix bathroom ceiling paint peeling requires proper attention to cracks and holes. We start by slightly widening straight cracks with a utility knife to help the filler stick better. Next, we smooth out patching compound with a putty knife until the surface becomes even. The compound needs to dry overnight before moving forward. Deep cracks might need a second layer to create a perfectly level surface.
Applying a finishing skim for a level surface
A thin, uniform coat of all-purpose joint compound goes on the entire ceiling surface after filling the cracks. This vital step creates a level base for your new paint. We recommend using a setting-type compound like Durabond 90 or Easy Sand in bathrooms because it resists bubbling when exposed to moisture. The first coat must dry completely before we check for spots that need more attention.
Sanding again for a smooth finish
The ceiling needs sanding with 220-grit sandpaper once the skim coating dries. This step creates that perfectly smooth surface you want. Your finished ceiling's quality depends on proper sanding - rough spots or visible lines will show through the final paint coat. Need help? Let us (Revive Wallpaper and Painting) take care of it!
Priming with a moisture-resistant bonding primer
The right primer plays a vital role in long-term success when combined with proper preparation. Our team only uses moisture-resistant bonding primers like KILZ Kitchen & Bath in bathrooms. This special primer creates a mildew-resistant film that guards against future moisture issues. Regular primers just don't handle bathroom conditions well. We apply primer evenly across the ceiling to ensure the topcoat sticks properly and looks uniform.
Painting with anti-mold, humidity-resistant paint
Anti-mold, humidity-resistant paint made specifically for bathrooms goes on last. Products like Zinsser PERMA-WHITE guarantee mold and mildew protection for 5 years with proper application. We apply two full coats of semi-gloss paint for best results. Flat or eggshell finishes absorb moisture, so we never use them. Semi-gloss creates a protective barrier that stops moisture from damaging the paint, which prevents future flaking, cracking, and peeling. The surface needs 24 hours without shower use after painting, and you should avoid scrubbing it for at least 7 days while it cures properly.
How to Prevent Peeling Paint from Coming Back
Fixing bathroom ceiling paint peeling properly the first time is just as important as preventing it. Our team at Revive Painting and Wallpaper has seen many Saskatoon homeowners who can't solve their recurring ceiling problems. Let us share what we've learned to help your ceiling stay fresh longer.
Improving bathroom ventilation and airflow
Good ventilation is the best way to prevent moisture damage. You should run your exhaust fan during showers and keep it running 10-15 minutes after to remove humid air. A portable dehumidifier can be a great solution for bathrooms that don't have enough ventilation. These devices pull moisture from the air and reduce paint damage risks significantly. Your bathroom mirrors staying foggy long after showering shows there's trapped humidity that will damage your paint job eventually.
Choosing the right paint for high-moisture areas
Bathroom conditions need special paint - that's just a fact. We only use moisture-resistant formulas that contain mildew-resistant additives made specifically for humid spaces. Products like Aura Bath & Spa or Tikkurila Luja Matt 7 Anti-Mold paint resist moisture exceptionally well. Bathroom-specific paints with Color Lock Technology and burnish resistance help maintain beauty even in steamy conditions.
Inspecting caulk and sealing gaps regularly
Caulking plays a vital role in stopping water infiltration. You should check your bathroom caulking every year for cracks, peeling, or discoloration. Silicone caulk works better than acrylic latex in bathrooms because it resists water and mold better. Quick action on caulking problems stops water from getting behind surfaces and ruining paint. Finding it tricky to handle yourself? Revive Wallpaper and Painting is here to help!
Letting each coat dry fully before the next
Paint jobs fail when you rush between coats. Each paint type needs specific drying time - latex and acrylic paints usually need 1-2 hours between coats and take 2-3 weeks to cure completely. Good airflow helps optimal drying, so keep those fans running and windows open when possible.
Too complicated for you?
Let us help! Contact our painting team in Saskatoon today.